On this page
- Key Takeaways
- Burn In vs Image Retention: What’s Actually Happening
- Uneven Ageing: The Real Version of LED Screen Burn In
- LED Wall After Image: Four Faults That Look Like Burn-In
- How to Fix Screen Burn In on an LED Wall
- How to Stop LED Screen Burn In Before It Starts
- Before Replacing LED Modules, Find the Real Fault
Screen burn-in is a genuine problem on OLED TVs, so it’s natural to worry when a video wall shows the same logo, timetable, or lyrics slide for months. LED screen burn in is a different story. A direct-view LED wall uses inorganic light-emitting diodes rather than the organic pixels found in OLED displays. Its LEDs can gradually lose light output and change colour over time, but individual components can also fail. But gradual dimming still isn’t even, and when a wall looks wrong, the cause is often something else entirely.
Key Takeaways
- Classic burn-in belongs to organic displays like OLED. LED walls age by dimming slowly.
- Uneven ageing is real, but it cannot always be reversed. Calibration may improve the visual match between modules.
- Image retention that fades is temporary. A mark that stays needs diagnosis.
- Many “ghosts” on LED walls are faults: drive-circuit ghosting, a stuck source frame, mismatched modules or heat.
Burn In vs Image Retention: What’s Actually Happening
Burn-in describes a persistent display mark caused by differences in pixel ageing. Image retention is often used for a temporary afterimage that fades when the content changes. OLED displays can develop permanent burn-in through uneven organic pixel degradation. LCDs can also show temporary image persistence, depending on the panel technology.
LED video walls work differently again. LEDs can lose light output gradually over time. In general lighting, L70 describes the time taken for output to fall to 70 per cent of its initial level. However, this is a lumen-maintenance measure, not a guarantee of how long an LED video wall or its electronics will operate. Individual components can fail before that point.
Uneven Ageing: The Real Version of LED Screen Burn In
LEDs used continuously at higher output can experience different levels of wear from those displaying darker or less frequently used content. A permanent logo, timetable header or lyric background may therefore contribute to uneven ageing over time. The difference can appear as a darker patch or a colour shift, particularly when the red, green and blue channels age at different rates.
Heat and drive current can affect LED longevity. Research published by the US Department of Energy and PNNL identifies excessive drive current and operating temperatures as factors that can shorten LED useful life. Running a wall at unnecessarily high brightness for long periods may increase the risk of uneven ageing, depending on its design and operating conditions.
Check the datasheet. Display makers often quote a figure like 100,000 hours, so ask what brightness level that refers to. Rental walls that are regularly built and struck may accumulate fewer operating hours than continuously running installations, although usage varies. Fixed displays in venues, churches, lobbies and signage applications should be monitored for long operating hours and repeated static content.
LED Wall After Image: Four Faults That Look Like Burn-In
If you see a ghost image on your LED wall after the content changes, rule out faults first.
| What you see | Likely cause | How to tell |
|---|---|---|
| Pixels faintly lit when they should be off | Unintended LED illumination caused by parasitic current in the drive circuit | Shows on dark content, and appears without any history of static content |
| Old image stays on part of the wall | A frozen frame, retained graphic layer or fault in the source or processor | Changes or vanishes when you change the source or use a test pattern |
| A tile dimmer or a different colour from its neighbours | A module with different brightness or colour characteristics, or a failing module | Follows the tile’s edges, not the shape of the old content |
| Patches that change as the wall warms up | A temperature-sensitive module or electronic fault | Compare the affected area during cold start and after normal operating temperature is reached |
Analogue Devices describes the first one clearly: parasitic current flowing through LEDs that should be off causes very faint illumination, a ghost image. It’s a hardware effect, not wear.
How to investigate possible uneven ageing: Check whether the difference stays in the same physical area when you change the source. Display full-screen red, green, blue, white and grey test patterns, then compare the wall after a normal warm-up. A persistent brightness or colour difference may indicate uneven ageing, but module, power and processing faults should also be ruled out. For a wider look at common display faults, read our guide to LED screen problems.
How to Fix Screen Burn In on an LED Wall
If you’re searching for how to fix led screen burn in, the honest answer starts with a diagnosis, because the fix depends on the cause.
- 1.Prove what it is. Run the checks above and photograph the patch on each test pattern.
- 2.If it’s uneven ageing, assess whether calibration can help. Depending on the display and its processing system, calibration can adjust module or pixel brightness and colour to improve visual consistency. It cannot restore output lost through LED ageing, and matching dimmer areas may require reducing the brightness of brighter areas.
- 3.If one module is affected, assess whether it can be repaired or needs to be replaced. A replacement from a different production run may have different brightness or colour characteristics, so check compatibility and matching before fitting it.
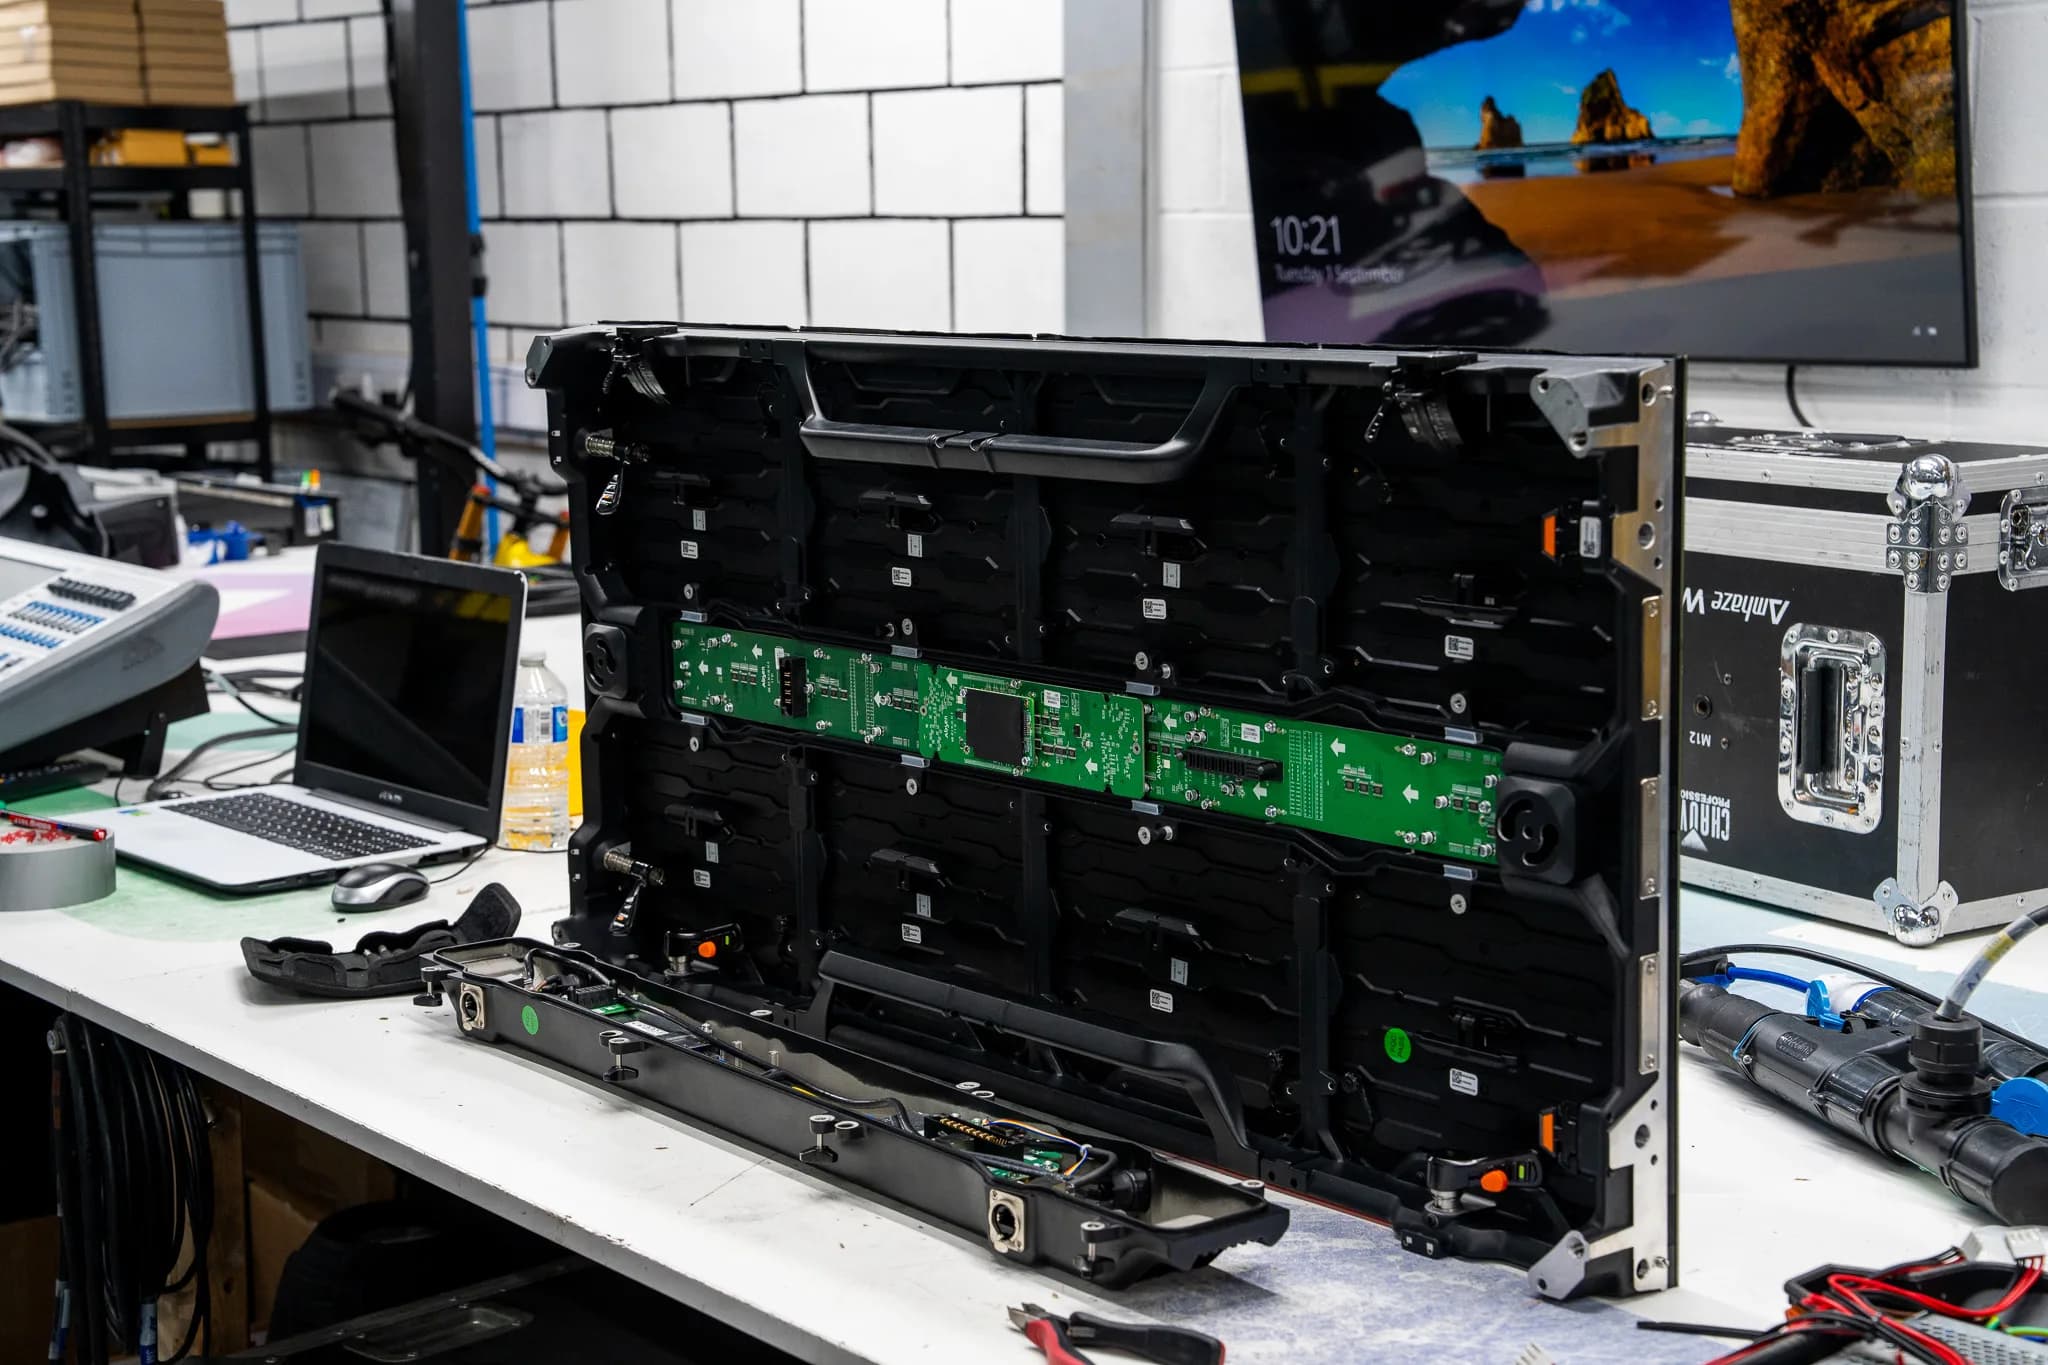
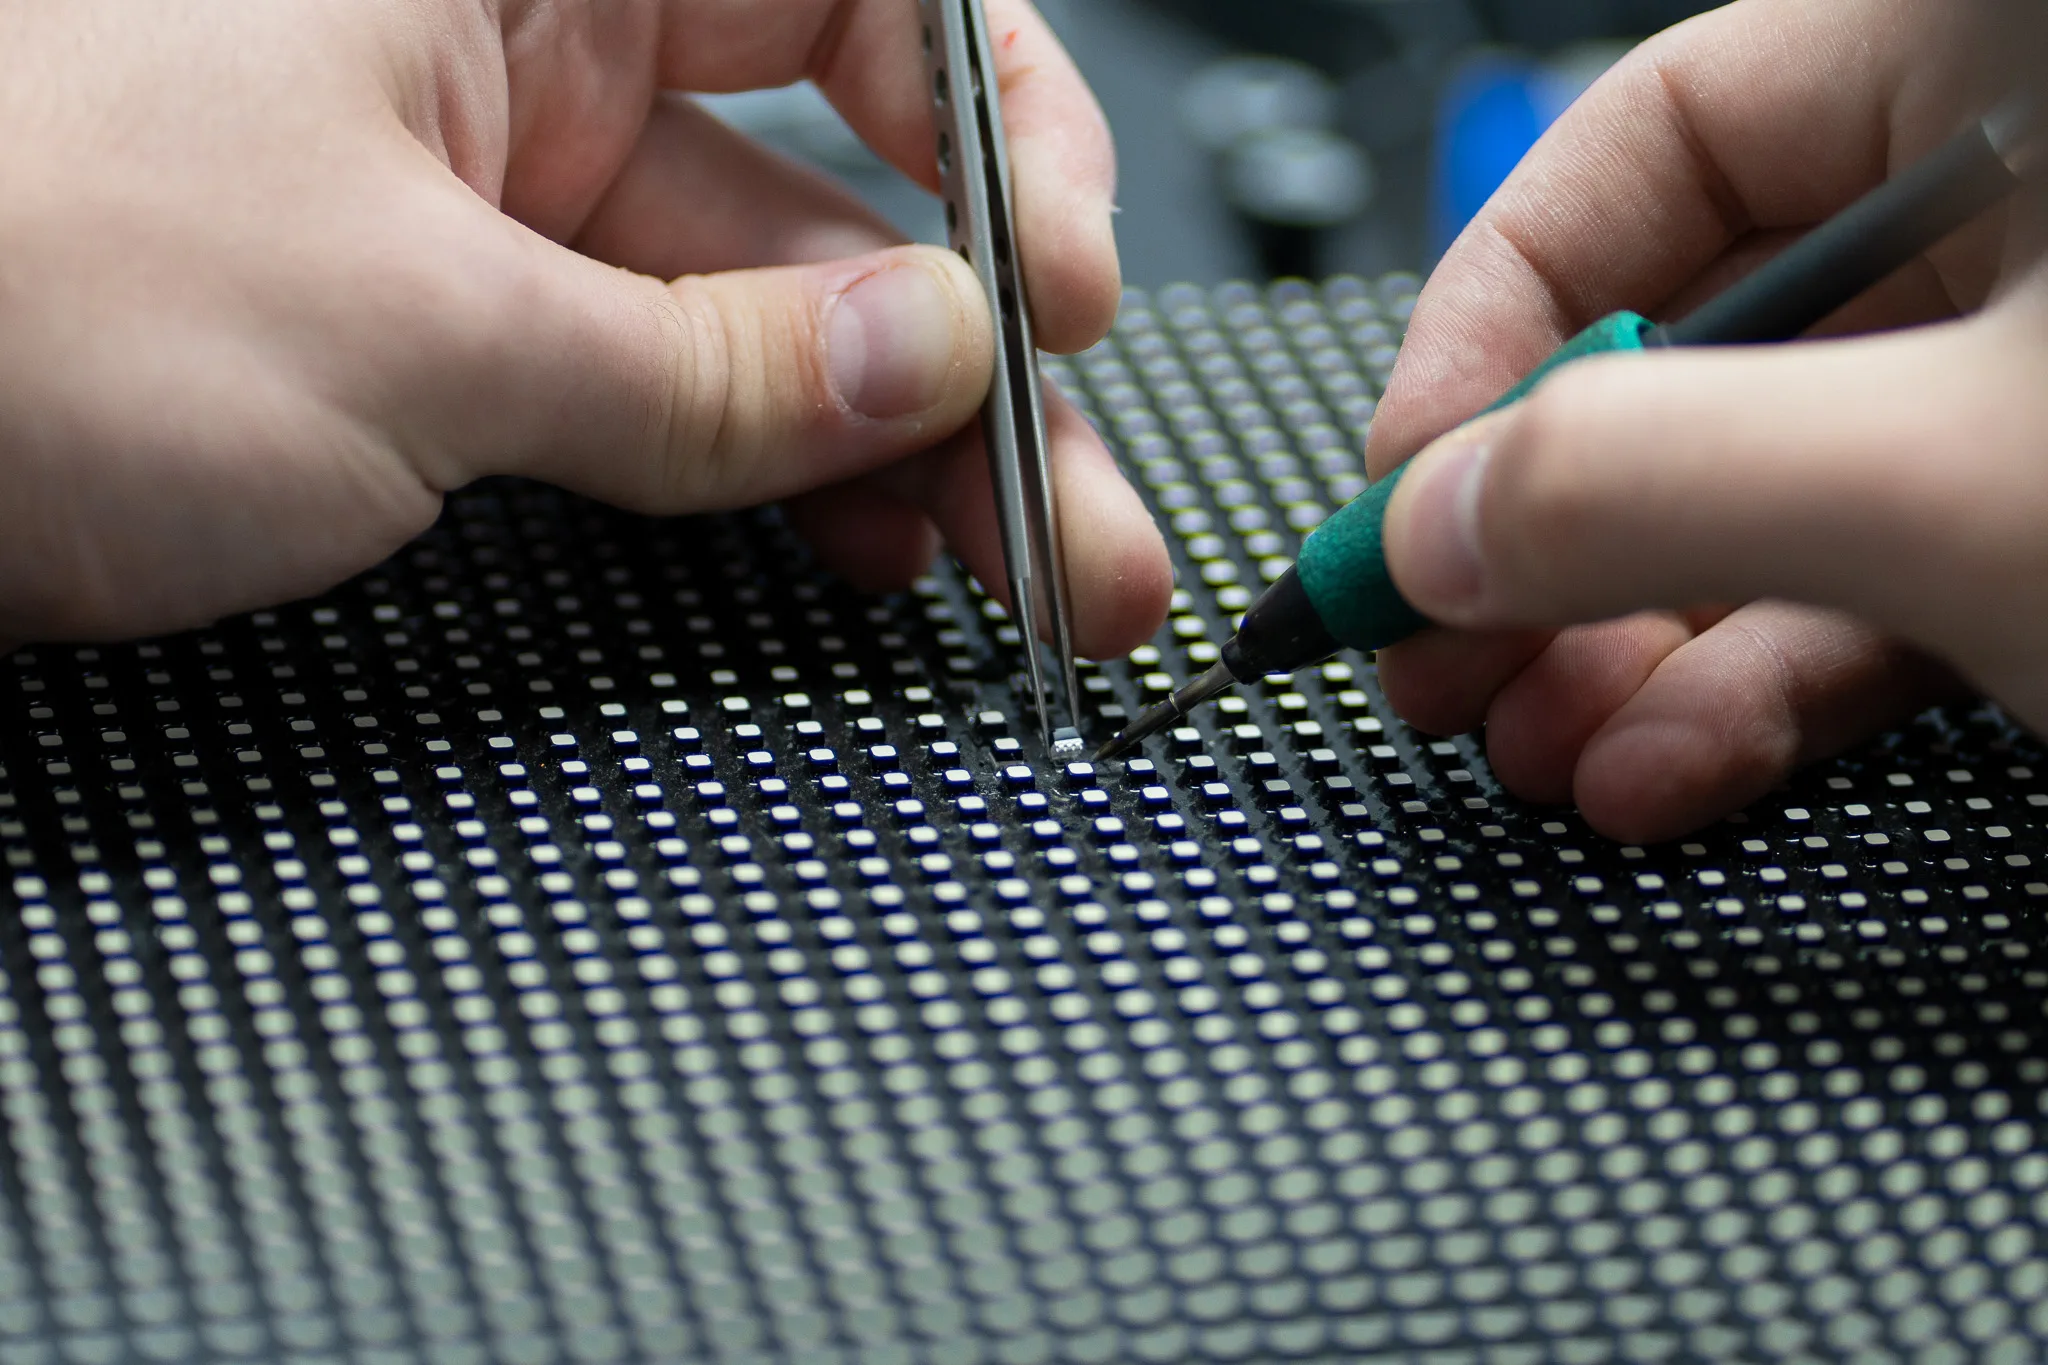
- 4.If a module, receiving card or power supply has failed, it may need component-level repair or replacement. Our LED repair service UK covers faults involving individual pixels, dark modules, colour shifts and power supplies. Where practical, component-level repair can address the fault without replacing an entire assembly.
A looping “burn-in fix” colour video won’t change any of this. On an LED wall, the real tools are diagnosis, calibration and repair.
How to Stop LED Screen Burn In Before It Starts
- Set brightness to what the room needs, not the maximum.
- Vary the content. Rotate layouts and move static elements now and then. Pixel shifting helps small text and logos, but does little for a big static panel.
- Schedule downtime where practical. A display running for 16 hours a day operates for 5,840 hours a year, compared with 8,760 hours if it runs continuously. Reduced operating time can limit accumulated use, although it does not guarantee a proportional increase in display life.
- Avoid static, high-contrast layouts at full brightness.
- Keep records. Note module batches and, where possible, retain compatible spare modules with matching brightness and colour characteristics.
- Check it periodically with test patterns after warm-up, and photograph the results so you can compare over time.
Before Replacing LED Modules, Find the Real Fault
A visible after-image does not automatically mean your LED wall needs replacing. The cause could be uneven ageing, a faulty module or an issue elsewhere in the display system. A proper assessment helps establish whether calibration, component-level repair or replacement is the most perfect option.
Complete Pixel Solutions takes a diagnosis-first approach to LED screen repairs. Send us details of the affected modules, along with photographs or a short video, so we can assess the fault and advise on the next steps.
Share