The screen is fine on normal content but a cabinet blacks out or flickers whenever we put up a full white or a bright logo at 100% brightness.
LED screen PSU fails at full brightness: find the sag
Last updated:
Full white can pull three to four times the current of normal content. Here's how we prove a sagging rail, what we repair in the supply, and what we replace.
- Usually
- 5V rail sagging or supply hitting overload trip
- Check first
- Rail voltage at the far module on full white
- Tells you it's power
- Fault tracks brightness, data faults don't
- Fixable
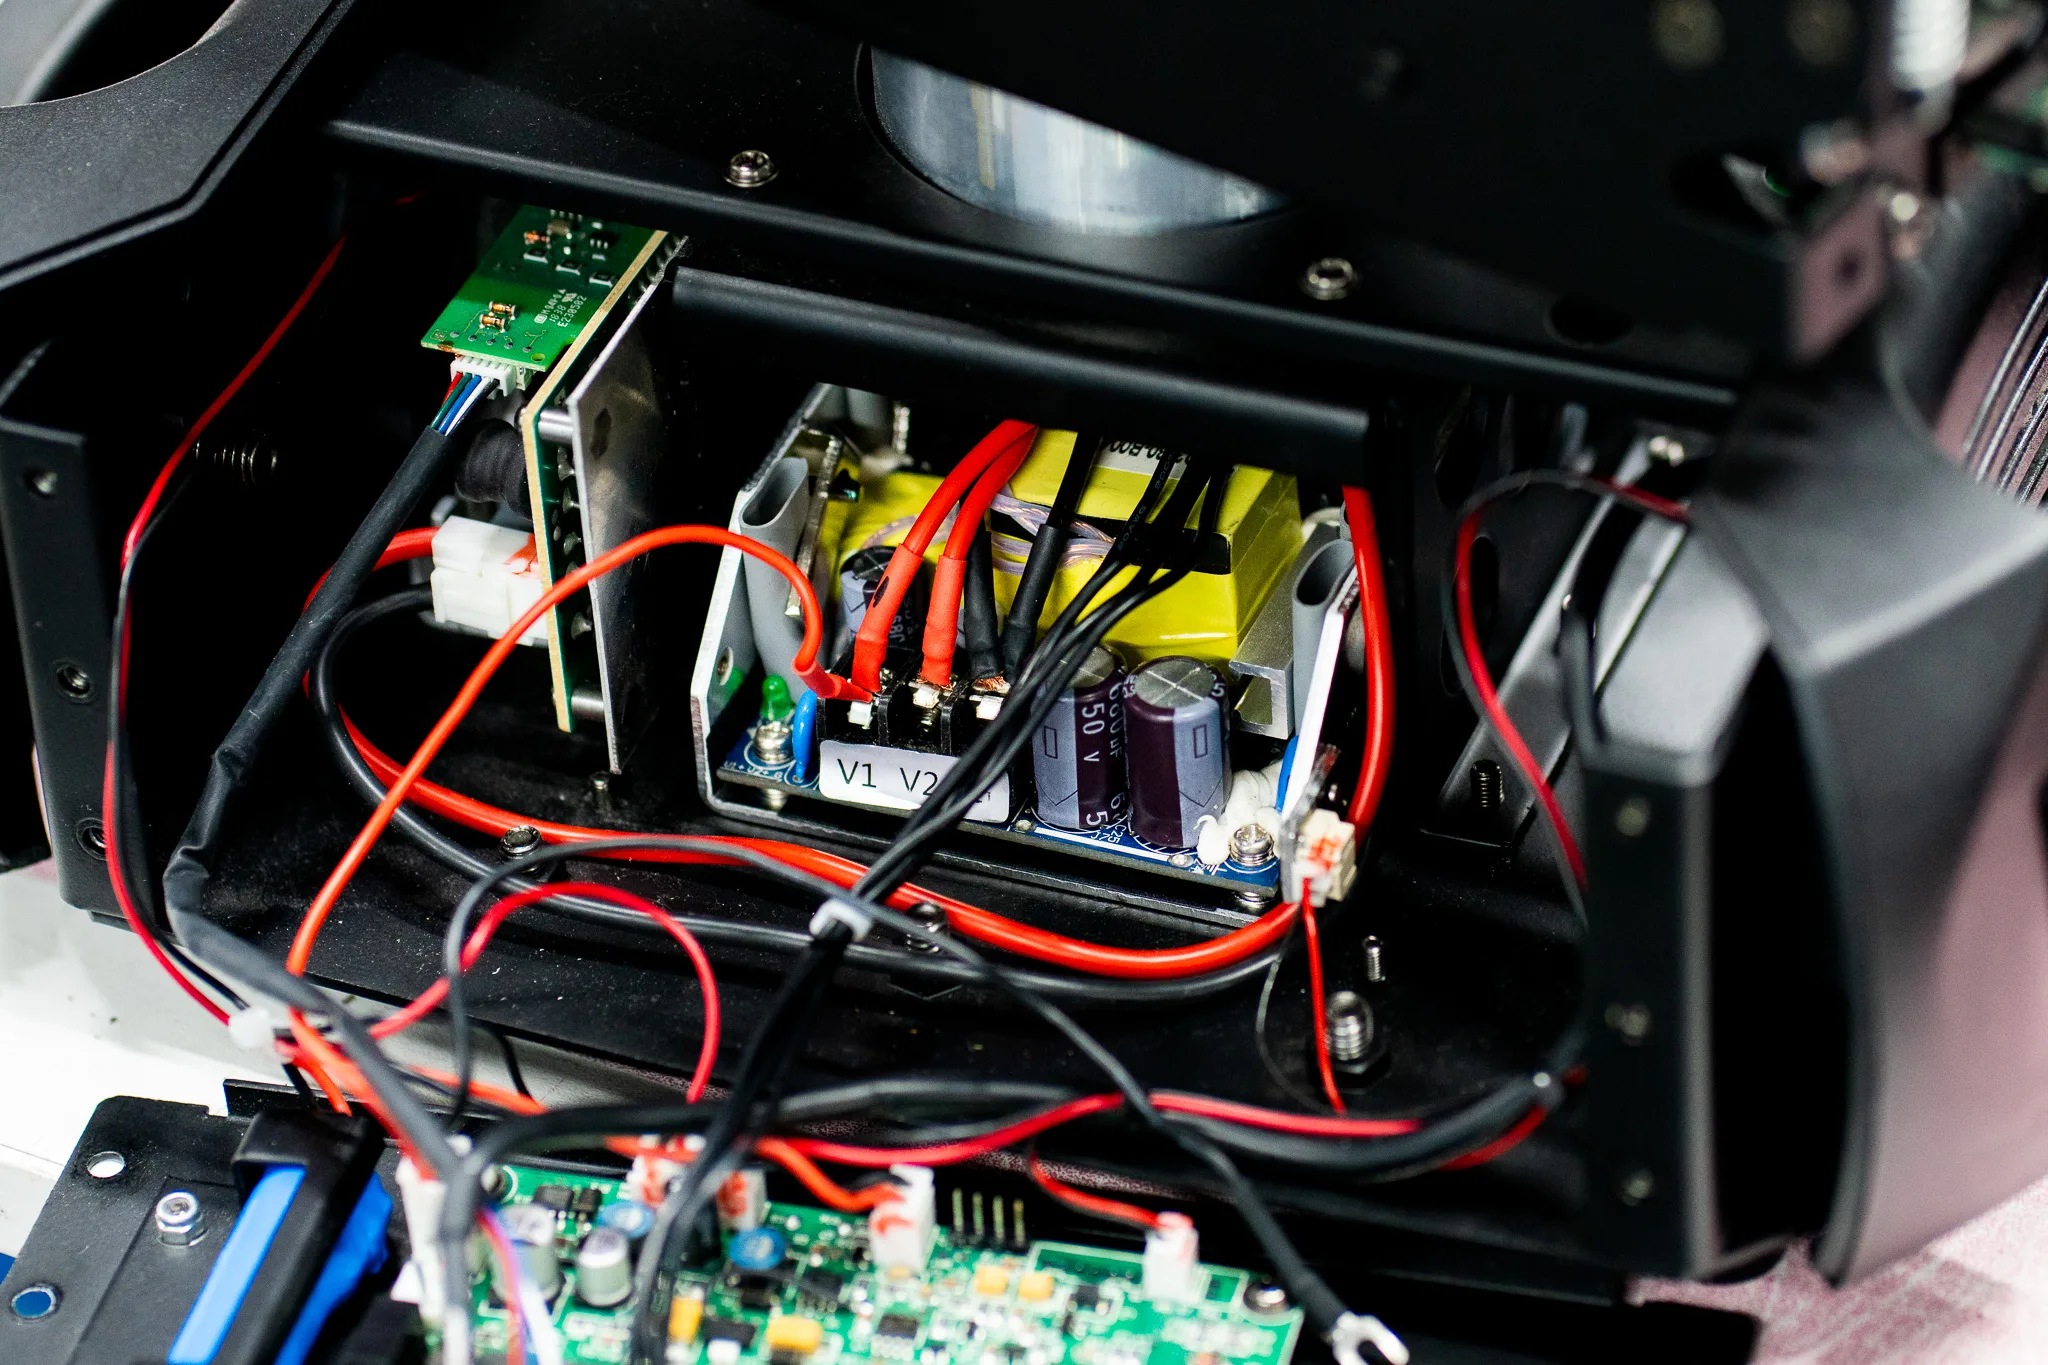
- Often: caps, fans, trim, harness and crimps
Full white at 100 per cent brightness pulls roughly three to four times the current of ordinary video content. That single fact explains nearly every case where a PSU fails at full brightness. The rail runs out of headroom, the supply protects itself, and the cabinet goes black. Put darker content back up and everything looks healthy again.
Data faults ignore brightness. A scrambled module is scrambled at 10 per cent and at 100 per cent, so if your fault tracks the content level you can stop pulling receiving cards and start with a meter. Check that first.
Why a PSU fails at full brightness and not at 30 per cent
Every supply has a current rating and a protection threshold sitting above it. On the common 5V LED bricks, the overload trip is set somewhere between 110 and 140 per cent of rated output power, and the supply drops into hiccup mode: output off, retry, output off. Load falls back under the rating and it recovers on its own. That's exactly what you see when a white logo clears and the wall comes back by itself.
Over voltage protection behaves differently. It latches. If your cabinet needs an AC cycle before it will light again, you're most likely looking at OVP or a thermal lock rather than a simple overload, and that points at the supply itself instead of the load.
Age matters too. Output capacitors dry out, ripple climbs, and the rail that held 5.0V under load three years ago now sits at 4.6V by the time it reaches the far module. The screen was always close to the line. Now it's over it.
Measure the rail at both ends on full white
You need a DMM, a DC clamp meter, a full white pattern from the processor and an infrared thermometer. No scope needed for the first pass (we'll put one on the output later, back at the bench).
- 1.Run normal content and measure DC at the supply output terminals. Write it down.
- 2.Switch to full white at 100 per cent brightness. Measure the same terminals again.
- 3.Without changing the pattern, measure at the connector of the module furthest down the chain.
- 4.Drop global brightness to 25 per cent and repeat both readings.
- 5.Clamp the DC output and read the current on full white.
Now read what you've got. A healthy 5V brick holds within about three per cent of its set point, so roughly 4.85V to 5.15V if it was trimmed to 5.00V. Anything under about 4.7V at a module is a screen living on borrowed time.
If both ends sag together, the supply is at its limit or the AC feed is weak. Measure mains at the cabinet under full white before you condemn anything: a long 16A run feeding a heavy wall can pull the input down far enough to push a marginal supply into hiccup.
If the terminals hold steady and the far module reads low, the loss is in the cabinet's own distribution. That gap between the two readings is the number that matters. Nine times out of ten it's a crimp that was never right or a connector pin that has lost its spring tension, and the infrared thermometer finds it in seconds because resistance makes heat. Touch nothing while it's live, just scan.
Compare your clamp reading against the brick's rated current. We see cabinets drawing 95 per cent of rating on full white and nobody realises, because the wall has only ever run video. Then someone puts a corporate holding slide up for twenty minutes and the whole thing starts flickering. Brighter replacement modules fitted into an older chassis do the same thing: the supply never changed, the load did.
Last, log the temperature. Supplies derate as ambient climbs, and the published curve for a typical LED brick runs from 25 degrees upward. A cabinet in a roof pocket or in direct sun with a dead fan is operating in a different place on that curve to the one on your bench. Fails warm, fine cold. That's thermal, not capacity, and the fix is airflow before it's electronics.
If the symptom turns out to be one module rather than the whole cabinet, our guide on whether a black module is a power fault or a data fault picks up where this one stops.
What we fix, what we swap
Plenty of these supplies are repairable and we open them as a matter of course. Bulging or high ESR output capacitors, seized fans, dry solder joints around the output rectifier and drifted trim pots are all routine work on our power supplies and processing bench. After a repair we set the trim under load rather than open circuit, then soak the unit at full rated current and watch ripple and case temperature.
Some units we won't repair, and we'll say so early. A failed primary side on an unbranded brick with no part markings isn't economic, and a potted outdoor supply with water ingress is finished. Replacement is the honest answer there.
Sourcing is worth a word. Lead times on some very common 5V LED bricks have stretched to several months at the big catalogue distributors, while independent stockists still hold hundreds, and at least one authorised distributor lists the part as end of life with stock on the shelf. We check availability before quoting and qualify a mechanically compatible alternate where the original is drying up.
One compliance point for UK fixed installs. Mean Well's own specification for the LRS-200 series states that the unit does not meet the harmonic current limits of EN 61000-3-2 and should not be used where the end device is used within the EU, and the same wording applies to the UK equivalent standard. Datasheets and derating curves are on Mean Well's site and the standard itself is available from the IEC webstore. If you're handing a venue install over to a client, check what's actually fitted inside imported cabinets before you sign it off. Touring kit is a judgement call. A permanent install is not.
Headroom: the number that stops it happening again
Size the supply so full white sits at about 70 to 80 per cent of rated output, then derate again for the hottest place that cabinet will ever hang. Screens that follow that rule don't come back. Screens built to 95 per cent on paper come back every summer.
Fix the distribution at the same time. Replace suspect crimps rather than re-seating them, check the chassis bond, and make sure the longest module run in the cabinet isn't the one fed last from the weakest tap. For production companies running the same wall week in week out, carrying two spare supplies per truck pack costs less than one lost holding slide.
Where to send it when the PSU fails at full brightness
If it's one or two cabinets, pull them and use our send in repair route. We'll load test the supply at full rated current, check ripple on a scope and measure the drop across the cabinet harness, because fixing the brick and leaving a bad crimp just moves the fault.
If the whole wall sags on white, the problem is likely distribution or AC and it needs measuring where it hangs. That's an on site visit. Send us your readings from both ends on full white when you get in touch, and tell us what's fitted: talk to the bench and we'll tell you what we think before anything moves.